
 OpenPost
Pixelfed

Connect a Pixelfed instance for photo and album publishing.
Pixelfed is photo-first publishing on the Fediverse. OpenPost connects to a Pixelfed instance through the same per-instance OAuth flow as Mastodon, but keeps Pixelfed's own identity, photo-first capabilities, and validation.
Connect a public instance
- In OpenPost, choose your workspace and open Settings → Workspace → Social accounts → Pixelfed.
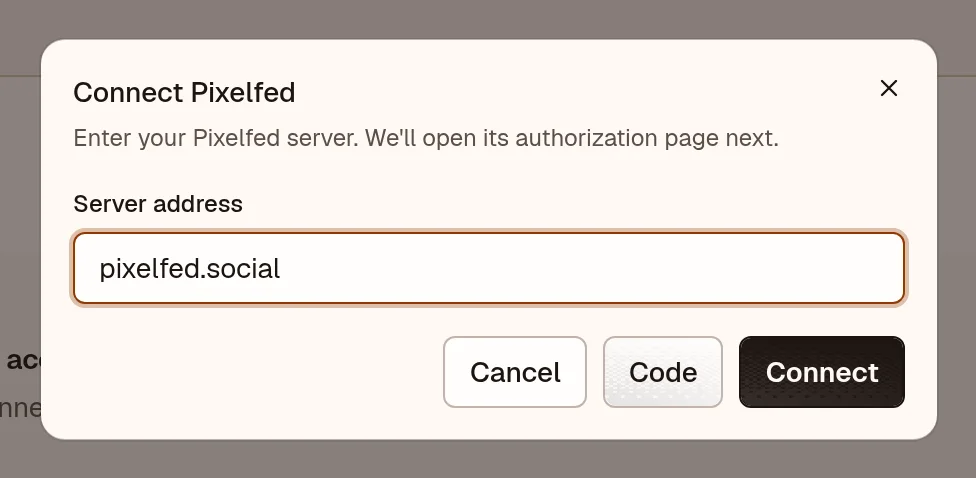
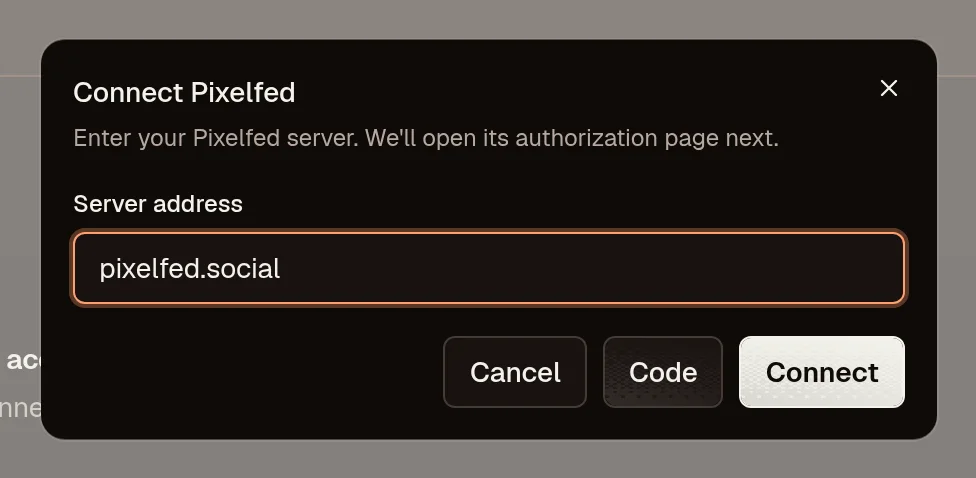
- Select Continue to Pixelfed, then enter the address of the instance that hosts your account, such as
https://pixelfed.social. Do not enter your profile URL. - Continue to the instance's authorization page and approve OpenPost.
- By default, Pixelfed shows an authorization code. Copy it and return to OpenPost. In the Pixelfed connection dialog, select Code, paste it into Authorization code, and select Connect account.
- Publish a single-photo test post and open the resulting link from its publication details.
OpenPost registers the app on that instance through POST /api/v1/apps with read write scopes and keeps the client secret encrypted. The default redirect is urn:ietf:wg:oauth:2.0:oob, which makes Pixelfed display a code instead of redirecting to a callback.
Configure a fixed instance app
Use this path if you want to preconfigure a known instance or its app registration endpoint is unavailable to OpenPost.
-
On that Pixelfed instance, open your settings and register an application named
OpenPostwithreadandwritescopes and the redirect URIurn:ietf:wg:oauth:2.0:oob. Save the app and copy its client ID and secret. Instance menus can differ. -
Add the instance and credentials to
PIXELFED_SERVERSin your server environment. Keep the JSON on one line in.env:PIXELFED_SERVERS=[{"name":"Team instance","client_id":"your-client-id","client_secret":"your-client-secret","instance_url":"https://pixelfed.example"}] -
Recreate OpenPost with
docker compose up -d --force-recreate openpostto load the changed environment. The instance should appear as a choice when connecting Pixelfed.
You can instead save a Pixelfed app in Instance → Configuration → Provider apps.
Publish photos and albums
Design a photo or album, select Pixelfed, then review the images, caption, and alt text before publishing or scheduling. Pixelfed supports up to four photos per post. Alt text travels with each image; content warnings and sensitive-media flags are preserved, never silently dropped to make cross-posting succeed.
Video is photo-first on Pixelfed: OpenPost warns when a video is attached because support depends on the instance and version. Polls, quotes, and interaction policies from Mastodon are not advertised for Pixelfed accounts.
If the connection fails
- Enter the instance origin, for example
https://pixelfed.example, without a username or path. OpenPost accepts public HTTPS instances. - If app registration fails, ask the instance administrator whether it accepts new OAuth apps, or configure a fixed app for that instance.
- If Pixelfed rejects the authorization code, start the connection again and copy the new code. Check that the app's registered redirect URI matches.
- If a fixed instance is missing, check the
PIXELFED_SERVERSJSON and the container logs after restart.